Turning a Vynix note into a GitHub issue
You can turn a Vynix note into a GitHub issue so your team, or a coding agent, has the context needed to start fixing it. Vynix includes the selected element, screenshot, console and network details, and an AI diagnosis when available.
- Open the site where the Vynix widget is installed.
- Click the Vynix widget, then click the page element or area that has the problem.
- Review the captured note, including the screenshot, element details, console logs, network context, and AI diagnosis.
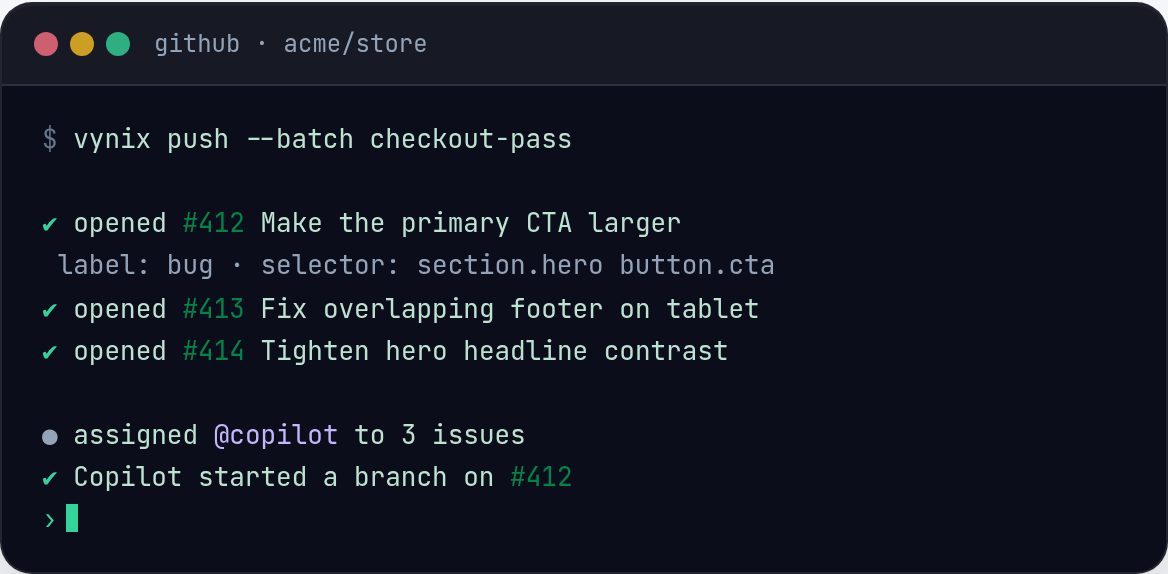
- Choose the option to create or open a GitHub issue.
- Confirm the repository, title, description, labels, and assignee if those options are shown.
- Submit the issue in GitHub.
Vynix is designed to turn a visual report into developer-ready context. Instead of writing a bug report from scratch, capture the issue from the page and let Vynix prepare the technical details.
Before creating an issue, make sure your GitHub connection is set up and that you have access to the target repository. If you do not see the GitHub option, check your workspace integrations, permissions, or the latest setup steps in the Vynix docs at https://vynix.in/docs.
After the issue is created, review it in GitHub before handing it off. You can edit the title, add acceptance criteria, attach more context, or assign it to a teammate or coding agent.
Related questions
What information is included in the GitHub issue?
A Vynix issue can include the note description, selected element context, screenshot, console and network context, and an AI diagnosis of the likely root cause. The exact fields may depend on your workspace settings and integration setup.
Why do I not see the option to create a GitHub issue?
The GitHub integration may not be connected, or you may not have permission to create issues in the selected repository. Check your Vynix integration settings and GitHub access, then refer to the docs for current setup instructions.
Read the full documentation or email hello@vynix.in.